Showing posts with label sewing. Show all posts

Project: Camera Case

I have only gone out into the madness twice during Black Friday - one was a few years ago with my mom and sister to Joann's Fabrics (if it's craft crazy, I can handle it) and then this year, before my work day began. Walmart had a great deal on a Canon digital camera, and I bit the bait. It was a really great deal but it did not come with a case. I love the tutorial over at Scattered Thoughts of a Crafty Mom for the easy quilted case, and it turned out pretty well. 


I was able to use up some of the scrap material left over from my holiday pillow covers and I used a towel I found in the boat. No longer do I keep batting around because I don't have space; the towel and fabric was pretty thick to sew through, so I put on the quilting foot so my sewing machine could make it's way through the multiple layers. If I made this again, I would make the little elastic shorter (my button had to be way down on case, not cute and in the middle of the front). But, I'm happy with the outcome, and it will keep this new camera safe while we are at or away from the dock. 


Project: Holiday Pillow Covers


Our good friends aboard S/V Last Tango put me to shame last year during the holiday season. Their interior was so nicely and simply decorated for Christmas that it almost made tears come to my eyes. Our crew of friends were all headed off in different directions for the holidays, so Last Tango hosted a pre-Christmas dinner and get-together. Twinkle lights were twinkling, Christmas music was singing, cards adorned the cabin... all things that were so nice and reminded me of home. In the time since then, I decided that I would do some little things to make our boat feel more decorated for the holidays, but still remain committed to only bringing aboard what can be used/enjoyed each day, has a place to be stored, and doesn't have glitter. (Not sure if this is a rule for all liveaboards, but it is in our boat - our captain despises glitter.) For example, I've hung ribbon on our aft cabin door so we can tie and hang our Christmas cards. My absolutely adorable nieces are featured below, because their mother is so on-the-holiday-ball that she's already sent out her Christmas cards (and I love her for that and more).


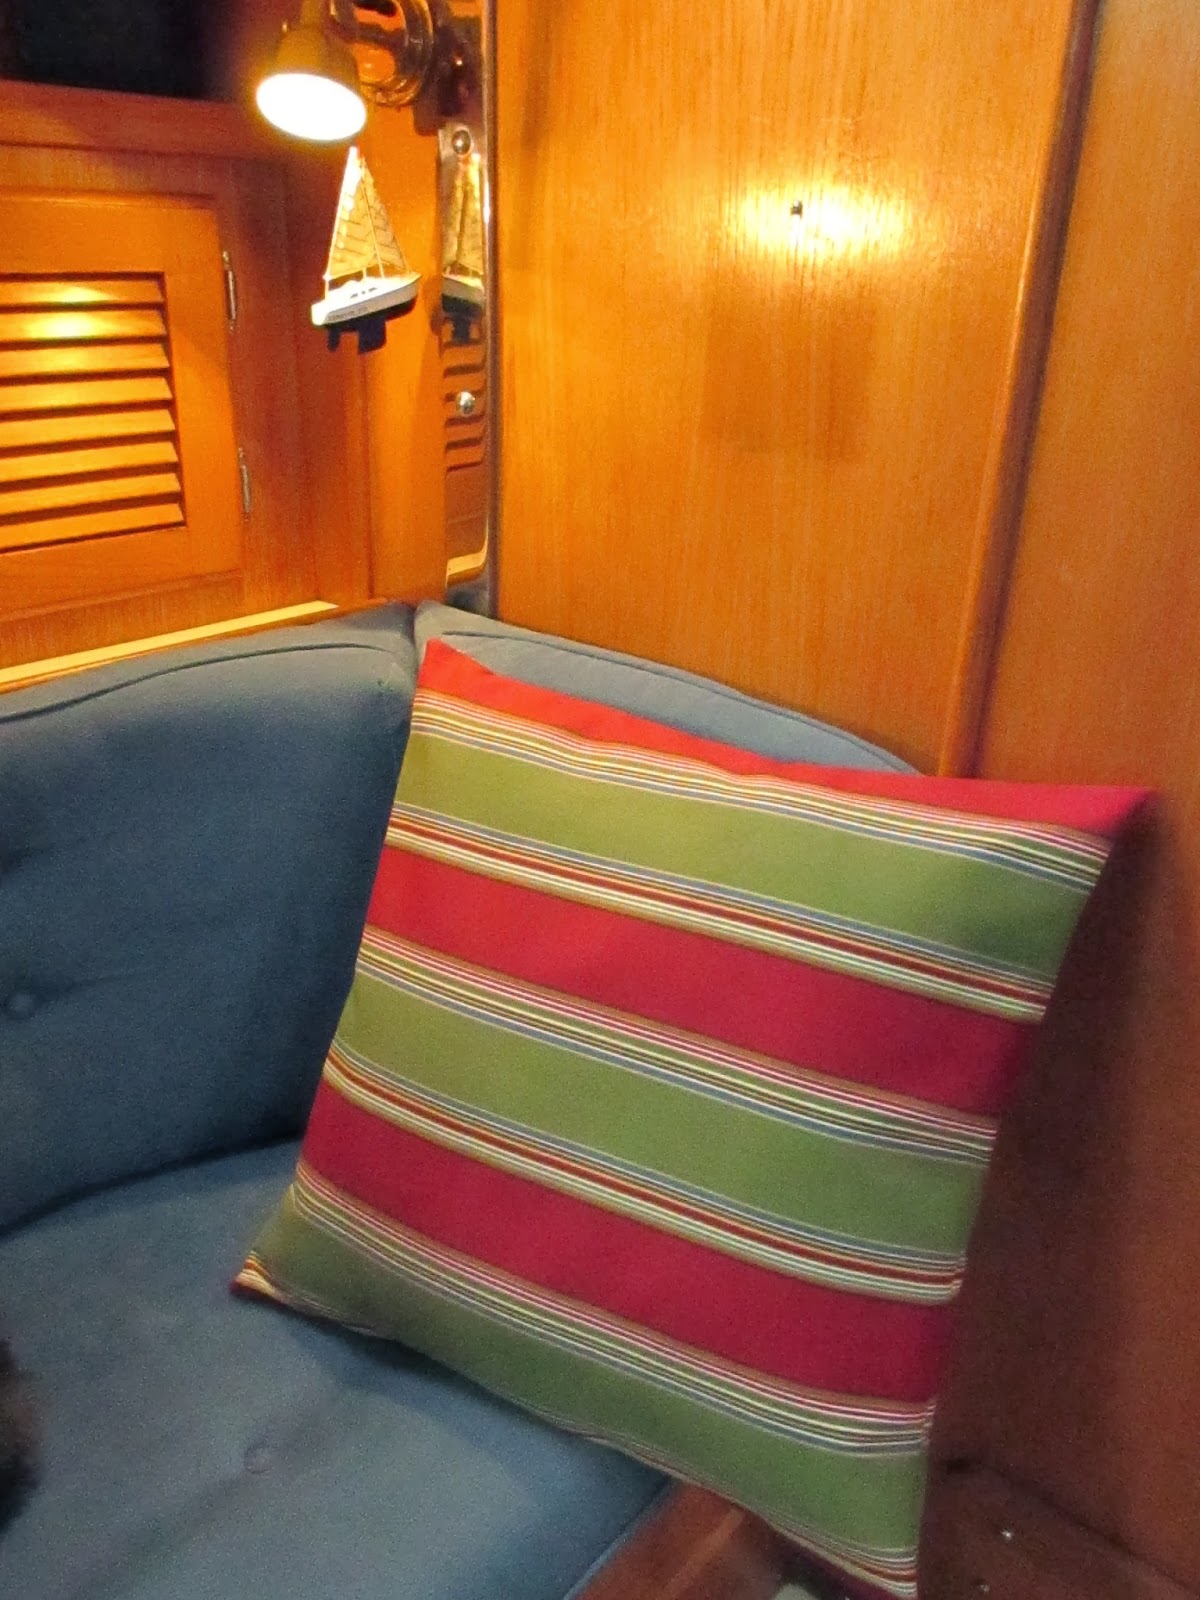
So today, in the time it took to watch the movie, You've Got Mail, I was able to complete three easy pillow covers for our non-Christmasy pillows. I had awesome coupons to Joann's Fabrics this week, so the overly expensive indoor/outdoor fabric ($19.99/yard - what?!?) became mine for 60 and 50 percent off. Nice! I liked the selected fabric because it had holiday colors and a bit of blue to match our interior fabric. We'll be able to use the covers far into the winter (meets one of our rules....) and as you'll see below, there's already proof that the pillows will be used daily.


I like (and have used for t-shirt pillows, for Hospice families) the easy directions from the Southern Institute for making pillow covers. You can make these for any sizes of pillows and you can make covers for all seasons and make those decorating changes in a nice simple way. Pillow covers can be folded up, as well, and stored easily (meets another rule...) I'll likely make some new ones in February for the end of winter, and some new ones in spring. I'm excited to cover the pillows we currently have; they are nice, but need a fresh look.


I'll share a bit of the steps, below; but, I really do suggest you check out the Southern Institute's blog for more specific directions. And, these are so easy that any beginner (or "never done a project") sewer can do.

First, make some tea or coffee. You'll need something to calm your nerves when you mess up (as I do many times).

Measure your pillows. Add 1 inch to each side. Mine are 20 inches, so I cut the  front panels to be 21 inches.

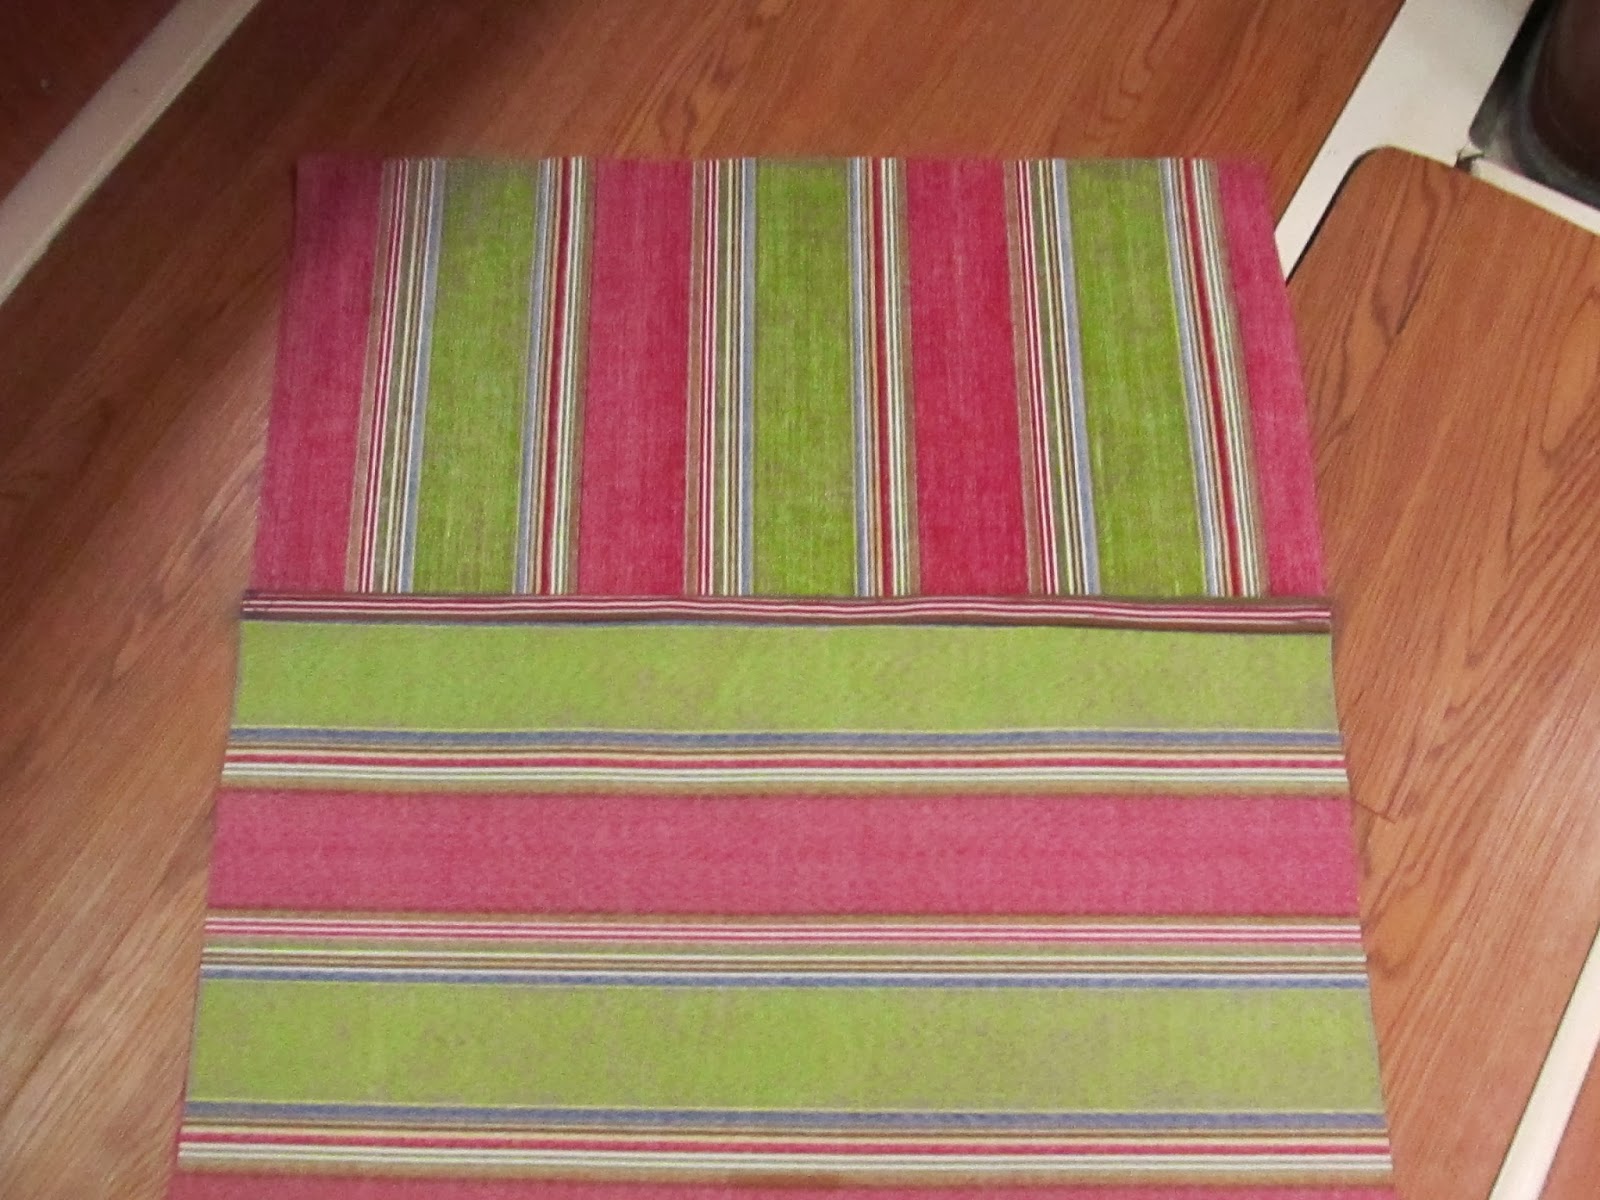
For back pieces, make two. One needs to be 5 inches less than the pillow size, and another needs to be 3 inches less. Fold back the edge that will be visible, 5 inches. Pin this across and then sew. 
Fold over again to make a clean seam. 
Just a tip, using these hair clips can be useful if you prefer over pins. I use both, depending on the sewing to be done.
You'll make sure that the back pieces (seen above) will cover one another. You'll place the front panel and back pieces right sides together, match up the edges and then sew all the way around. You'll use the opening (in the center) to pull everything through when you turn the pillow case right side out. Also, remember to cut your corners off before turning right side out, and also use a pen or your scissors (gently) to push out your corners so they are pointy.
Here's what the back of the pillow looks like, the original pillow can be pushed up and in through the back opening.


Dress Refashion

Living aboard doesn't allow for me to have many dresses, and the ones that I do have need to have the ability to be worn multiple times, at many places, and not be bothered by the washing and drying in our marina's industrial laundry machines. I've had many pieces of clothing fail because they weren't up to the challenge of liveaboard life; so, the idea of refashioning clothing from the thrift shop has attracted my attention.

I've always loved shopping at thrift stores and have had success finding great deals on brand new or barely worn clothing. Yet, refashioning means that I can take pieces (in whatever size, shape, or style) and make them work for me. Also, I can't bring myself to buy clothing at the prices that most pieces are marked, especially when I'm not sure if they'll hold up in the wash, or collect wrinkles when put away on a shelf in my clothing storage locker.

So, refashion. With the help of Ruffles and Stuff, I've completed the first refashion of a dress, just in time for the dinner dance I am attending next weekend. With a nice cardigan and some (plastic) jewels, I think this dress will work.

For this dress, I did the sewing with the dress turned inside-out. I sewed along the side seams just about an inch to bring in the sides. Then, I did sewing along the tops of each shoulder down about an inch, as well. I cut off the excess, tried on the dress, and then decided where I wanted to place the elastic around my waist. I traced a straight line (on the inside-out side of the dress) with fabric pencil to show where I needed the elastic, then did the sewing. Pulling the elastic slightly while sewing along the traced line allowed the fabric to gather. I cut off the excess elastic, left the length of the dress alone, and tried it on (which you see above).

Not too bad for a first try, I think. And the cost of this dress was about $10 ($4 for the dress, $3 for the thread, and $3 for a pack of elastic (of which a lot is left)). Much better than a department store purchase and with some accessorizin' hopefully this will be fun to wear.

Easy Pillowcases

Sewing room in our old house
Sewing space was a consideration when looking at new boats. I absolutely loved having my own sewing room when we lived in our house. I could escape up there with a project and it was my own space for storing all of the items that were absolutely neccessary for a successfully crafty life.

Our current boat has a drop-down table that is wide and long enough for both my sewing machine and rotary cutter board. I also have a small side table that works perfectly for setting up my roll-up ironing pad. 

One of my recent projects was a pillowcase fashioned from a t-shirt. I volunteer with my local Hospice House, and one of our clients wanted to do something special with two of her late husband's t-shirts. T-shirt pillowcases were the perfect (and quick) option. (I like the easy steps from the Southern Institute.)

I forgot to take pictures of the t-shirt pillows before I delivered them; but, the Southern Institute provides great pictures of how these pillows end up looking. It's a great project to keep around beloved shirts that one cannot or has grown away from wearing. A t-shirt quilt is another great project, but more time consuming and expensive.

With t-shirts, it's best to use fusible web so that the t-shirt fabric doesn't stretch much when sewing. Stretching will make for incorrect measurements, and a sloppy finished project (in my opinion). I buy fusible web (when I am planning for multiple t-shirt quilts or pillows) by the bolt, and that's a good bargain. Also, it's easy to store, up and away on a shelf, behind my sewing bin.

To ready a t-shirt or other clothing for sewing, here is my process (with an 18-inch project), with 1/4 inch allowance.


1. I cut the t-shirt apart into its pieces: front, back, sleeves. There should be four separate pieces of t-shirt. For the t-shirt pillowcase, you'll use the front and back t-shirt pieces..

2. I would cut a 19.5-inch piece of fusible web for the front of the shirt. (The Pellon fusible web, that I use, is usually at a width of 20-inches, so even 20 x 20 would work.) These pieces should be bigger because you'll iron them onto the t-shirt pieces before cutting the pieces to size. Once the t-shirt is fused, it will make for a cleaner and more accurate cut.

3. Iron on the fusible web to the back of the t-shirt's front side (or the back side, if that is where the main graphic is - the graphic that will be used for the front of the pillow.)

4. Cut big piece of fusible web to cover the entire other side of the t-shirt. I cut the lenght of the fusible web right at the beginning of the shirt's hem at the bottom. That is ironed on, as well, and gives you a big piece of fabric to use for the back of the pillow.

5. With the fabric fused, you can now cut it as you would regular fabric. For a 18-inch pillow, the front piece should be cut to 18.5 inches square, with the graphic nicely centered in the middle. (I take a lot of time centering up the graphic with ruler and rotary cutting board.)

6. For the back pieces, I start with the side with the hem and cut a piece that is 18.5 x 12.5 inches (I subtract 6 inches less than the pillow size). Then, I hem the end of the other piece, and cut a piece that is 18.5 x 14.5 (4 inches less than the pillow size).

7. Now, all pieces are ready to be sewn together using the Southern Insitute's process. I sew with an 1/4 inch seam allowance. Once the pieces are sewn together, remember to cut the corners so you will be able to push the fabric outward to make pointy corners. Make-it Love-it does a great job of showing you why you should clip corners, and how to do it.

Using the same process as the t-shirt pillowcases (minus ironing-on the fusible web), it's easy to recover a dated pillow or make new pillows. I like this process because it allows for an opening in the back of the pillowcase for easy removing of the pillow, so the pillowcase can be washed. If you are similar to me, dogs and husbands like to lay on them and they are destined to get dirty. Being able to do a quick wash is great. My plan is to make a few pillowcases from the fabric that I chose for our boat curtains (that project, TBD), and my husband kindly reminded me that I needed to get started on those curtains soon - so, look for updates on those : )


Sew I Go...

Tomorrow, good friends come to collect our furniture: couches, chairs, dressers, beds, lamps, rugs, and various little decorative pieces we've amassed during our brief stint with land life. I'm really okay with seeing our things go. Since my first experience living aboard, my attachment to things changed dramatically. I appreciate things and what they can do for me and my life, but I no longer love things like I did pre-liveaboard life.  I have found that even when I'm in lust with something, I reason myself away from that feeling. Things are things and there are more important places (and people) that warrant my love.

Quilting is one thing I really, really enjoy and I'm working furiously on finishing three quilts due by Christmas. I volunteer for our local Hospice, doing bereavement work, and I met a lady whose husband died last year. Together, they have three wonderful children (two in high school, one living away at college). I was asked if I could take the father's clothes and sew them into quilts for each of the children. So far, I have one top done for the daughter (the purple) and working today on finishing the top for one of the sons (the yellow, burgundy, white, gray).


I'm thinking about and hoping to find ways to continue sewing aboard. Our new boat has a little cubby area in the salon that will store a sewing machine and a Tupperware bin of notions and fabric. My next quilt is another t-shirt quilt for a good friend who recently competed in the recent Olympic Games in London. She is a professional windsurfer and has collected so many t-shirts through the years from her various competitions and regattas. She asked me if I would make a quilt for her but then retracted her question since we were moving aboard soon. I told her that I could cut up the shirts, take those with me, and recycle the scraps. Her big black bag of shirts keeps me thinking about the best way to accomplish her project aboard. I'll figure out and I'm sure the final product will be great.