Our good friends aboard S/V Last Tango put me to shame last year during the holiday season. Their interior was so nicely and simply decorated for Christmas that it almost made tears come to my eyes. Our crew of friends were all headed off in different directions for the holidays, so Last Tango hosted a pre-Christmas dinner and get-together. Twinkle lights were twinkling, Christmas music was singing, cards adorned the cabin... all things that were so nice and reminded me of home. In the time since then, I decided that I would do some little things to make our boat feel more decorated for the holidays, but still remain committed to only bringing aboard what can be used/enjoyed each day, has a place to be stored, and doesn't have glitter. (Not sure if this is a rule for all liveaboards, but it is in our boat - our captain despises glitter.) For example, I've hung ribbon on our aft cabin door so we can tie and hang our Christmas cards. My absolutely adorable nieces are featured below, because their mother is so on-the-holiday-ball that she's already sent out her Christmas cards (and I love her for that and more).

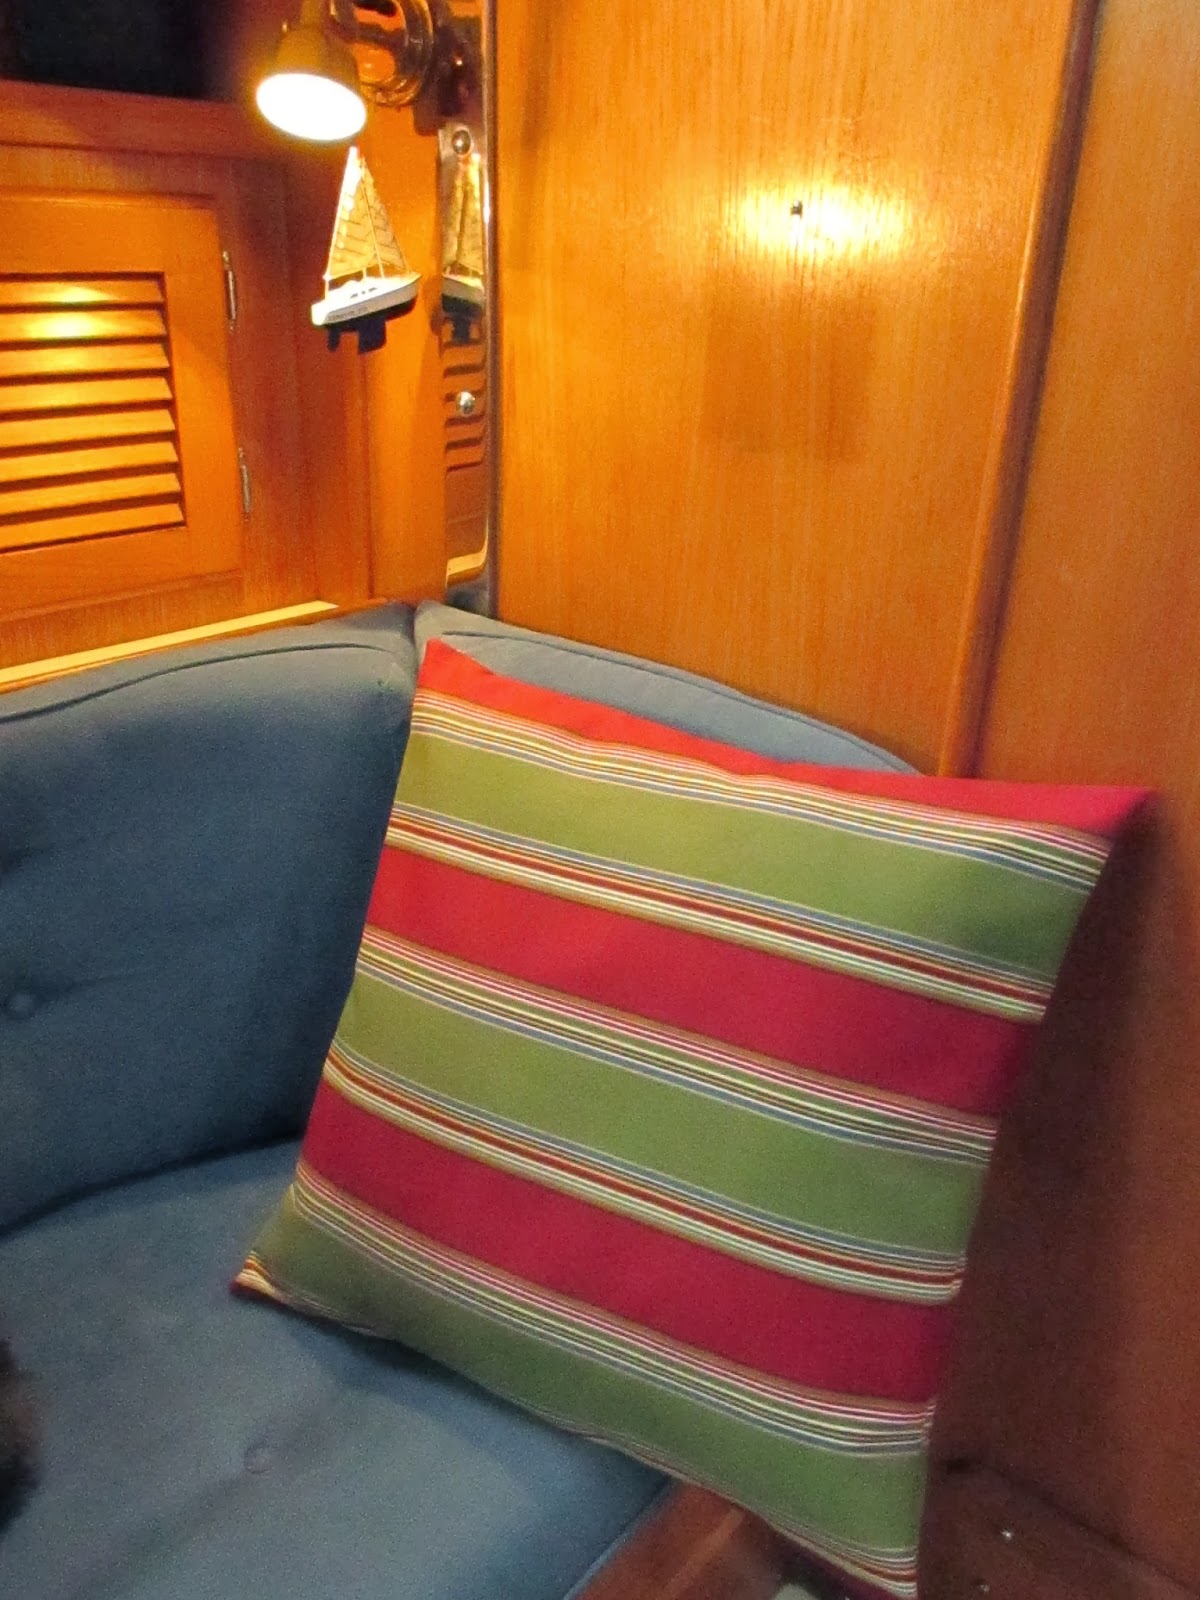
So today, in the time it took to watch the movie, You've Got Mail, I was able to complete three easy pillow covers for our non-Christmasy pillows. I had awesome coupons to Joann's Fabrics this week, so the overly expensive indoor/outdoor fabric ($19.99/yard - what?!?) became mine for 60 and 50 percent off. Nice! I liked the selected fabric because it had holiday colors and a bit of blue to match our interior fabric. We'll be able to use the covers far into the winter (meets one of our rules....) and as you'll see below, there's already proof that the pillows will be used daily.

I like (and have used for t-shirt pillows, for Hospice families) the easy directions from the Southern Institute for making pillow covers. You can make these for any sizes of pillows and you can make covers for all seasons and make those decorating changes in a nice simple way. Pillow covers can be folded up, as well, and stored easily (meets another rule...) I'll likely make some new ones in February for the end of winter, and some new ones in spring. I'm excited to cover the pillows we currently have; they are nice, but need a fresh look.

I'll share a bit of the steps, below; but, I really do suggest you check out the Southern Institute's blog for more specific directions. And, these are so easy that any beginner (or "never done a project") sewer can do.
 |
| First, make some tea or coffee. You'll need something to calm your nerves when you mess up (as I do many times). |
 |
| Measure your pillows. Add 1 inch to each side. Mine are 20 inches, so I cut the front panels to be 21 inches. |
 |
| For back pieces, make two. One needs to be 5 inches less than the pillow size, and another needs to be 3 inches less. Fold back the edge that will be visible, 5 inches. Pin this across and then sew. |
 |
| Fold over again to make a clean seam. |
 |
| Just a tip, using these hair clips can be useful if you prefer over pins. I use both, depending on the sewing to be done. |
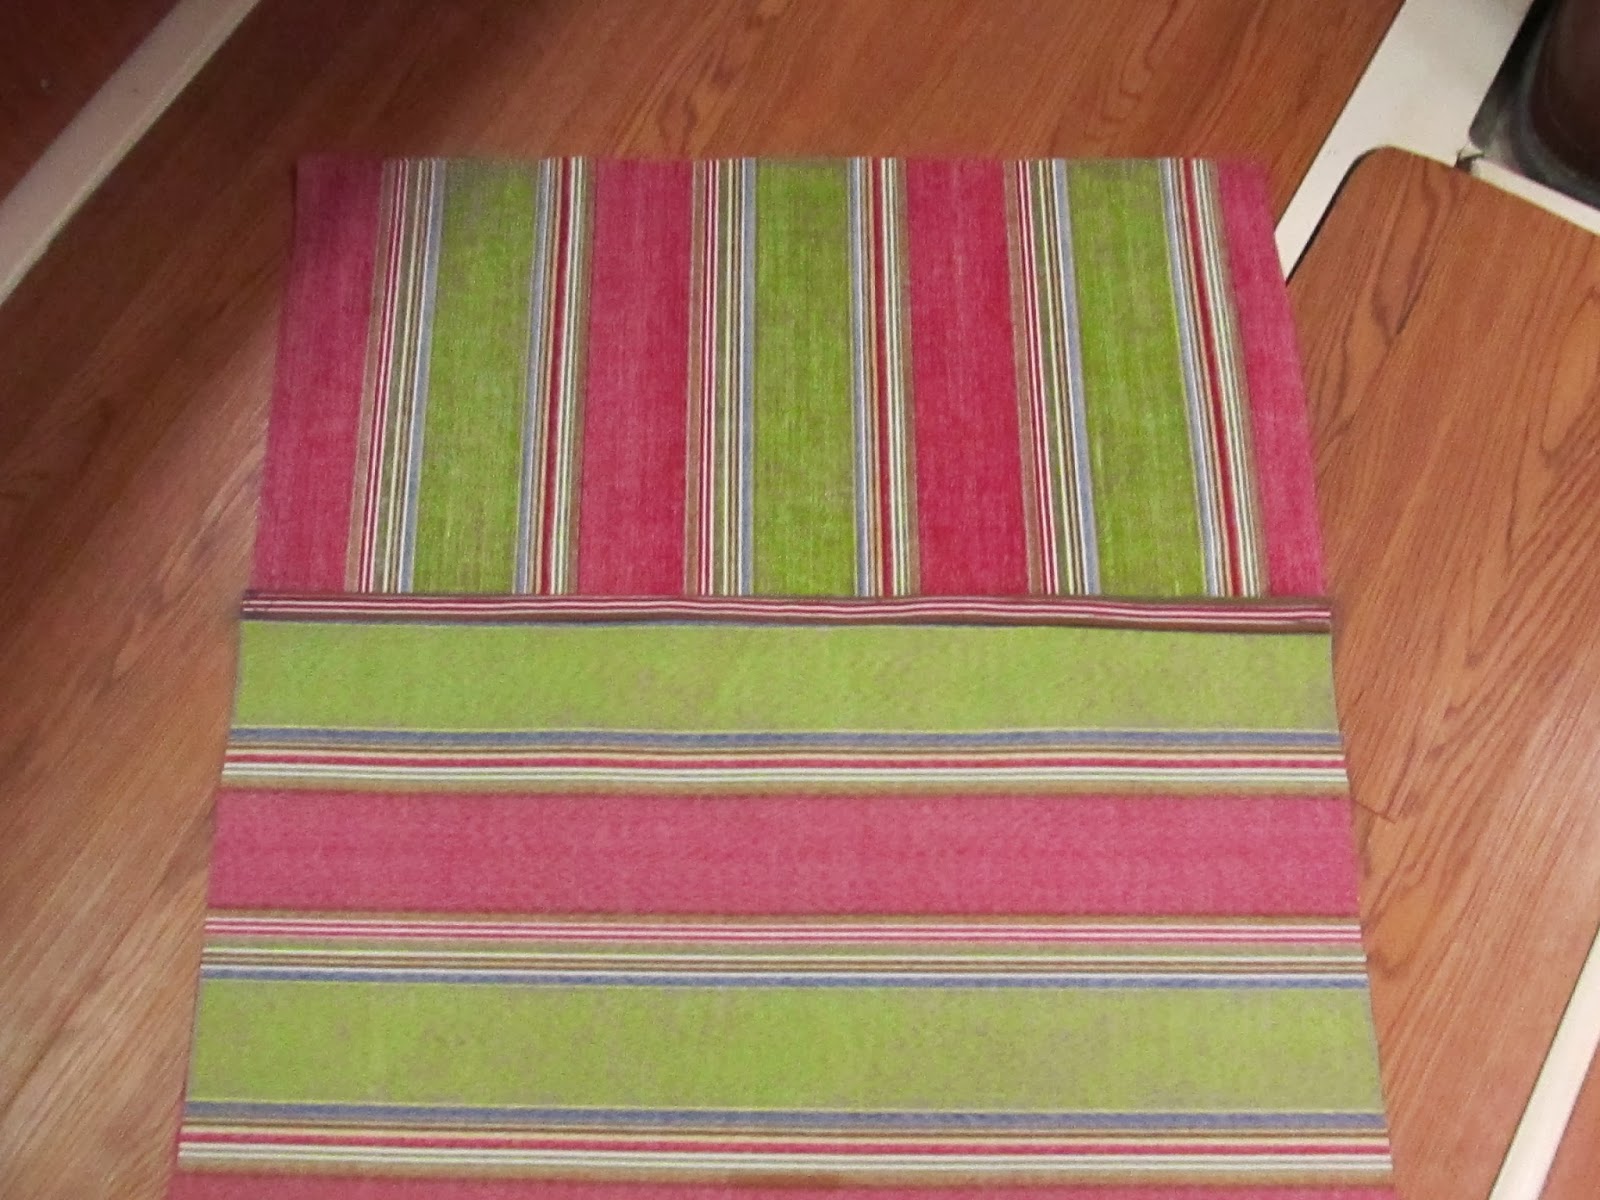 |
| You'll make sure that the back pieces (seen above) will cover one another. You'll place the front panel and back pieces right sides together, match up the edges and then sew all the way around. You'll use the opening (in the center) to pull everything through when you turn the pillow case right side out. Also, remember to cut your corners off before turning right side out, and also use a pen or your scissors (gently) to push out your corners so they are pointy. |
 |
Here's what the back of the pillow looks like, the original pillow can be pushed up and in through the back opening. |
Thank you for the sweet comments - I was really happy with the way the boat turned out last year. Hoping this year is equally as cozy ;)
ReplyDeleteS/V Last Tango
www.gonesailabout.blogspot.com
Looks great!
ReplyDelete